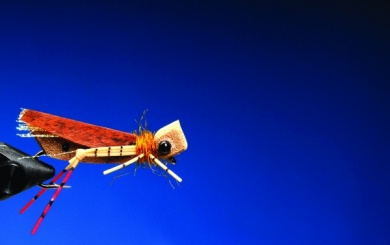
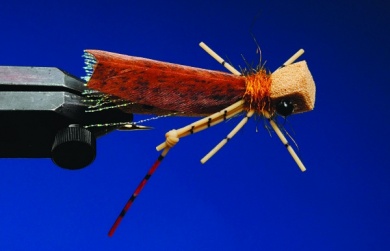
There are many Hopper imitations nowadays and lots of them are undoubtedly very effective. I choose the simpler ones which have an undressed silhouette that does not bother when casting. I recommend soft rubber legs, especially silicon ones, because these move naturally in the water and do not frigh View more...There are many Hopper imitations nowadays and lots of them are undoubtedly very effective. I choose the simpler ones which have an undressed silhouette that does not bother when casting. I recommend soft rubber legs, especially silicon ones, because these move naturally in the water and do not frighten the fish when it bites the hopper. Using soft foam, a soft wing and legs we can make trout take the fly and not release it immediately, as it happens when using harder materials. This hopper has the right weight, similar to the real insects, which makes it have the right sound when it hits the water, something that is really tempting for fish.
Move the mouse over the image to zoom in the fly.
Touch the image to zoom in the fly.

List of materials
Tying MaterialsHook: Daiichi 2220, sizes from 2 to 14.Thread: 3/0 (beige for this one).Body: beige foam (yellow and pale olive are good too).Under wing: orange or pearled krystal flash.Wing: speckled hen feather, glued on transparent tape.Thorax: Goat dubbing, SLF dubbing or any rough and bright dubbing.Legs: round silicon rubber, beige color.Eyes: plastic or burnt nylon.
Steps
Step 1
This is how the Hopper should look when finished.
Step 2
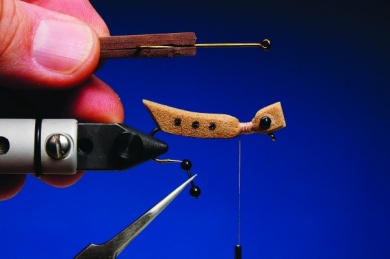
This is the correct shape of the foam body. Cut a rectangle and then shape it. Cut a small line in the lower side with a cutter, where the hook will be placed. Use cyanoacrylate to glue it. Make a hole in the head with a nail or needle, for the eyes.
Step 3
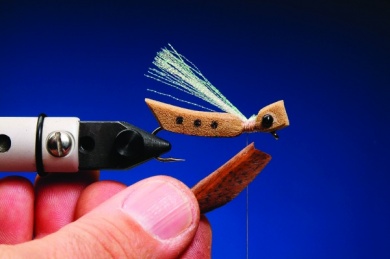
Tie some krystal flash in the back. Glue a hen feather on transparent tape and trim with the shape of the wing. Make a triangle shape at the tip.
Step 4
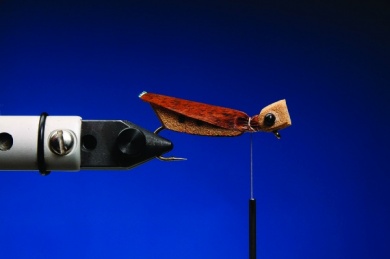
Tie the wing carefully. Not very tight. Cement with cyanoacrylate.
Step 5
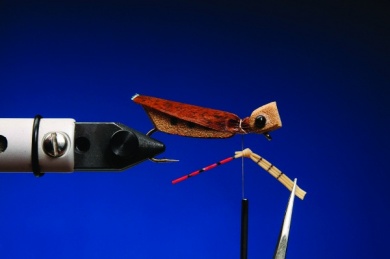
Take three strands of rubber and keep them tight together. Tie and trim. Use permanent marker to add some color, black and red are great.
Step 6
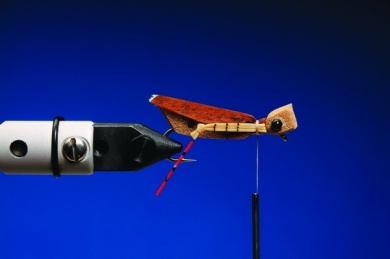
Tie the back leg without pressing too hard. Then add some cyanoacrylate to set it.
Step 7
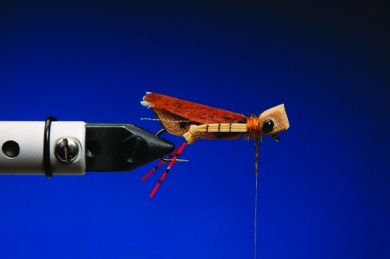
Tie the other leg and add some goat dubbing on the thorax.
Step 8
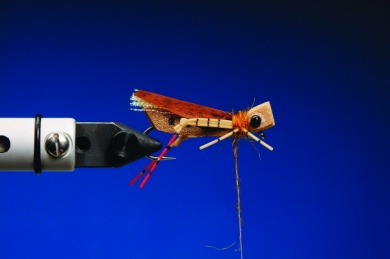
Carefully, add the front legs using one rubber strand only and tighten until the legs open a bit.
Step 10
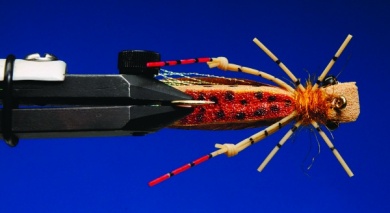
Ventral view of the finished fly. We can paint some dots with permanent markers.

