
Step 1
This nymph can either be weighted or not depending on the depth you want to reach. Personally, I prefer to add some weight for 2 reasons: to help shape the body and increase the sink rate.
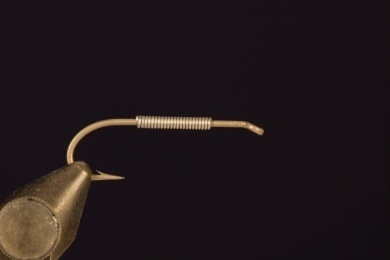
Step 2
Use the white thread to cover up the lead wire and slightly taper the body making it thicker towards the front. The white thread makes it easier to see how the shape is forming. The thickness of the wire depends on the size of the nymph, however I usually use 70 denier.
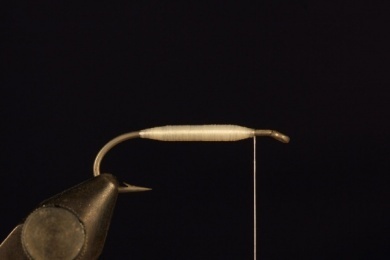
Step 3
We secure the body with cyanoacrylate and once dry change the thread to black. We start at the end of the shank or the start of the bend and use the ice dubbing to create a small bulge before tying in the goose boits.
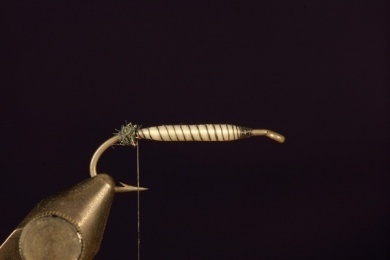
Step 4
Tie the goose biot in with one on each side using the dubbing to spread them apart. Tie half way down the body to secure them. For this section I prefer the reddish brown colour.

Step 5
Use a wire twister to create the loops of the body, as once twisted looks very similar to gold tinsel however is much stronger.
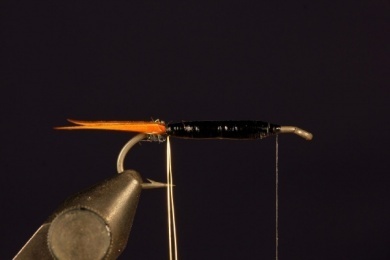
Step 6
Now we apply the white biots to resemble the wings or wing cases. Tie one on each side pointing forward towards the eye of the hook just a little longer than the tails.
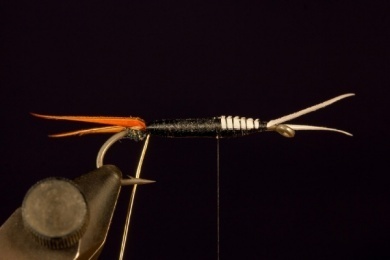
Step 7
Just behind the white biots tie in 3-4 fibres of peacock hurl, and begin to wrap the peacock hurl down the body. Use the gold wire to tie it off, before wrapping the gold wire up the body until just behind the white biots. Tie this down and trim. This creates a far more durable body.

Step 8
Tie in the hen furnace hackle just behind the white biots about four times before tying off. Using the hen hackle gives the fiber more movement, as they are softer than the rooster hackle.
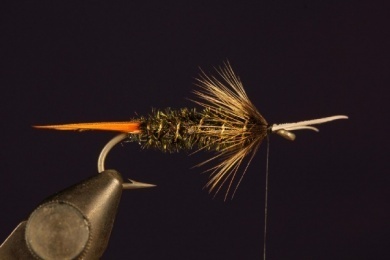
Step 9
Tie back the white biots and tie off the head with a whip finish.

Step 10
The finished Prince.
